

Flycast is a multi-platform emulator for Sega Dreamcast, NAOMI, Atomiswave and System SP hardware, delivered as a RetroArch core. This guide walks through the setup described in the official core documentation: where firmware files belong, which content extensions load, how to build multi-disc playlists, and which core options control system, video, performance, input and Visual Memory Unit behavior.
What the Flycast core is
The core is authored by flyinghead and is licensed under GPLv2. It is associated with the "Sega - Dreamcast" RetroArch database.
Prerequisites
- Before launching content, confirm the following, based on the documentation.
- 1. RetroArch is installed and the Flycast core is available to load.
- 2. A system directory is configured in RetroArch.
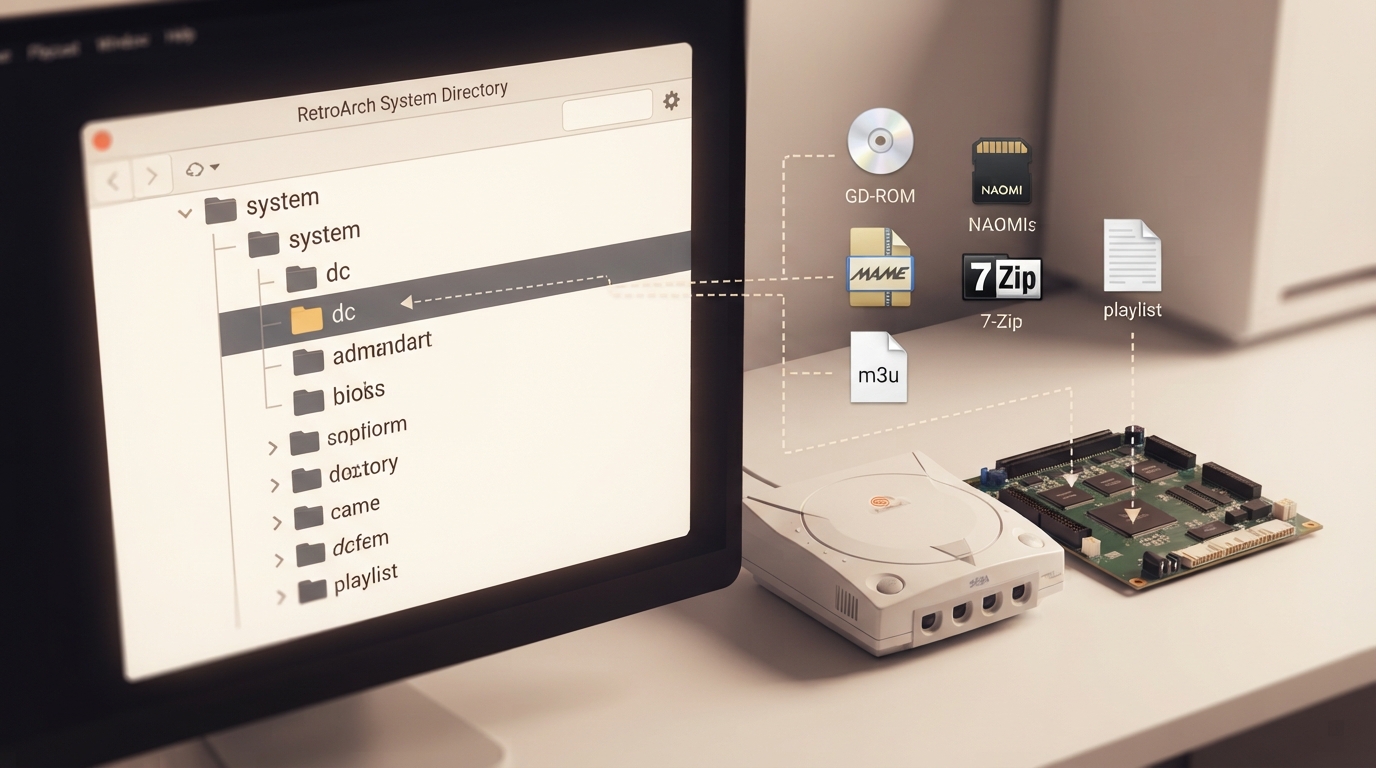
- 3. A "dc" folder has been created inside that system directory for firmware files.
- 4. Firmware files are only obtained from your own legally owned hardware or content. This guide does not cover or assist with obtaining game content.
Placing BIOS and firmware files
Required or optional firmware files go in RetroArch's system directory, and all of them must sit inside a subdirectory named "dc" there. The documentation lists the following filenames as firmware entries; all are marked Optional in the source table.
If you load the core manually and start it without any content selected, the Dreamcast BIOS Menu boots instead of a game.
Loading content
Flycast can load content with the following file extensions, as listed in the documentation.
- .cdi
- .gdi
- .chd
- .cue
- .bin
- .elf
- .zip
- .7z
- .lst
- .dat
- .m3u
Running NAOMI games
- The documentation gives two NAOMI workflows.
- 1. Run NAOMI games stored in MAME format zip files by following the same process as standard Dreamcast games.
- 2. Run NAOMI GD-ROM format games stored in MAME zip + chd format by running the zip file through RetroArch. The zip file should be stored in your roms folder, with the chd file in a subdirectory of the roms folder named after the MAME ID.
The documentation uses MAME ID ikaruga as an example layout, placing the zip in the ROM folder and the chd inside a folder named after that ID.
Multi-disc games and playlists
- 1. Keep one file per disc, using the .chd, .cue, .cdi or .gdi extensions, for example foo (Disc 1).chd, foo (Disc 2).chd and foo (Disc 3).chd.
- 2. Create a text file saved as foo.m3u that lists those disc files, one per line.
- 3. Load the foo.m3u file in RetroArch with the Flycast core to use Disk Control for disc swapping.
- 4. Alternatively, append discs to the current playlist via the "Disk Image Append" option in the Disk Control RetroArch menu.
Supported features at a glance
According to the documentation's feature table, Flycast supports restart, screenshots, saves, save states, core options, memory monitoring for achievements, RetroArch cheats, controls, remapping, rumble and disk control. Rewind, netplay, native cheats, multi-mouse, sensors, camera, location, subsystem, softpatching, username and crop overscan are listed as not supported.
The documentation notes that rumble only works when the joypad in use has rumble functionality and the joypad input driver in use implements rumble, citing Xinput as an example.
Core options categories
The Flycast core exposes options in five groups: System, Video, Performance, Input and Visual Memory Unit. Options whose labels carry a (Restart) note require the core to be closed before the new value takes effect on the next launch. Default values are bolded in the source documentation.
System
- Region (default or a specific region).
- Language (default or a specific language), which changes the language used by the BIOS and by games that contain multiple languages.
- HLE BIOS, default disabled, which forces use of high-level emulation BIOS.
- Enable DSP, default enabled, which emulates the Dreamcast audio DSP; it improves accuracy of generated sound but increases performance requirements.
- Force Windows CE Mode, default disabled, which enables full MMU emulation and other settings for Windows CE games.
Video
- Internal resolution (restart), default 640x480, modifying the rendering resolution.
- Cable Type, default TV (Composite), also offering TV (RGB) and VGA (RGB). TV (Composite) is the most widely supported.
- Broadcast Standard, default, with regional and standard variants.
- Screen Orientation, default Horizontal, also Vertical.
- Alpha Sorting, offering Per-Strip (fast, least accurate), Per-Triangle (normal) and Per-Pixel (accurate, but slowest).
- Enable RTT (Render To Texture) Buffer, default Off.
- Mipmapping, default On.
- Volume modifier, default On, a GPU feature typically used for drawing shadows; the documentation advises leaving it on because the performance impact should be minimal to negligible.
- Anisotropic Filtering, default 4, with 2, 8 and 16 also offered.
- Delay Frame Swapping, default disabled, useful to avoid flashing screens or glitchy videos and not recommended on slow platforms; it only applies when Threaded Rendering is enabled.
- PowerVR2 Post-processing Filter, default disabled, post-processing the rendered image to simulate effects specific to the PowerVR2 GPU and analog video signals.
Performance
- Threaded Rendering (restart required), default enabled, which runs the GPU and CPU on different threads and is highly recommended.
- Auto Skip Frame, default disabled, which skips frames automatically when the emulator runs slow; it only applies when Threaded Rendering is enabled.
- Frame Skipping, default disabled, or 1 through 6, setting how many frames to skip between displayed frames.
- Widescreen Cheats (restart required), default Off, activating cheats that allow certain games to display in widescreen.
- Widescreen Hack, default Off, drawing geometry outside the normal 4:3 aspect ratio; it may produce graphical glitches in the revealed areas.
- GD-ROM Fast Loading (inaccurate), default On, speeding up GD-ROM loading.
- Load Custom Textures, default Off.
- Dump Textures, default Off.
Input
- Analog Stick Deadzone, default 15 percent.
- Trigger Deadzone, default 0 percent.
- Digital Triggers, default Off.
- Purupuru Pack/Vibration Pack, default On, enabling controller force feedback.
- Gun crosshair 1 through 4 Display, each default Off, with color choices.
Visual Memory Unit
The Visual Memory Unit group covers per-game VMU save files and on-screen VMU visibility. Per-Game VMUs defaults to disabled, meaning all games share the 4 VMU save files (A1, B1, C1, D1) in RetroArch's system directory. The "VMU A1" setting creates a unique A1 VMU file in RetroArch's save directory for each game launched, while "All VMUs" creates 4 unique files (A1, B1, C1, D1) per game. For each of the four VMU screens there are separate options for Display, Position, Size, Pixel On Color, Pixel Off Color and Opacity.
dc/
├── vmu_save_A1.bin
├── vmu_save_B1.bin
├── vmu_save_C1.bin
├── vmu_save_D1.bin
└── dc_nvmem.bin
Documented game-specific caveats
- Crazy Taxi (PAL) and Crazy Taxi (USA): player taxis do not emit engine sounds.
- Jet Grind Radio (USA): police reports during levels do not display correctly.
- Sonic Adventure (PAL): must be set to use "VGA" output in core options, because "TV" mode will cause all subsequent FMV to make RetroArch become unresponsive.
- Unreal Tournament (USA): set Cable Type to "VGA (RGB)", otherwise the game will crash at start.
General issues noted in the documentation
- If the date and time are not saved properly, ensure you have the correct dc_flash.bin and dc_bios.bin files with matching md5sum values, and try deleting the dc_nvmem.bin files in the system/dc directory.
- Once you save to a VMU slot with any game, that VMU becomes inaccessible the next time you load the emulator. The documented fix is to enable the "Boot to BIOS" core option, exit RetroArch, delete all vmu_save*.bin files, start RetroArch and Flycast, boot to BIOS, select the VMU option, choose one of the VMUs, click the "All" icon in the upper-left, click Delete All so the VMU is formatted or initialized, then disable "Boot to BIOS", restart RetroArch, and everything should be fine.
- Polygon sorting issues can make objects appear distorted; the documentation suggests Per-Pixel Alpha sorting for accurate rendering at the expense of performance.
- With an Xbox 360 Controller, analog triggers do not work properly; use the bumpers instead.
- Changing games without closing and reloading RetroArch often leads to RetroArch crashing.
Controller mapping reference
Users 1 through 4 can each be set to None (input disabled), RetroPad (joypad, the default) or RetroPad w/Analog (joypad). The documentation states there is no reason to switch to RetroPad w/Analog.
Recovery and rollback notes
- Core options labeled (Restart) only apply after closing and relaunching the core.
- For state that fails to persist, the documentation points to rechecking firmware files and clearing dc_nvmem.bin from the system/dc directory.
- For an unformatted or inaccessible VMU, the documented recovery is the Boot to BIOS formatting procedure described above.
- To avoid crashes when switching titles, close and reload RetroArch between games rather than changing content in place.
Limitations
- Rewind, netplay, native cheats, multi-mouse, sensors, camera, location, subsystem, softpatching, username and crop overscan are not supported.
- Rumble depends on both the joypad hardware and the input driver supporting it.
- Widescreen Hack may produce graphical glitches in the revealed areas.
- GD-ROM Fast Loading is described as inaccurate.
- Per-Pixel alpha sorting is the most accurate mode but also the slowest; Per-Strip is fastest but least accurate.
- Enabling the DSP for audio accuracy increases performance requirements.
- Delay Frame Swapping is not recommended on slow platforms and applies only with Threaded Rendering enabled.
The documentation does not guarantee compatibility for any specific title, and no compatibility testing was performed for this guide. Verify behavior against your own setup and the official core documentation.
Reference table · Scroll horizontally to see all columns.
| Filename | Description |
|---|---|
| dc/dc_boot.bin | Dreamcast BIOS - Optional |
| dc/naomi.zip | NAOMI BIOS from MAME - Optional |
| dc/hod2bios.zip | NAOMI The House of the Dead 2 BIOS from MAME - Optional |
| dc/f355dlx.zip | NAOMI Ferrari F355 Challenge (deluxe) BIOS from MAME - Optional |
| dc/f355bios.zip | NAOMI Ferrari F355 Challenge (twin/deluxe) BIOS from MAME - Optional |
| dc/airlbios.zip | NAOMI Airline Pilots (deluxe) BIOS from MAME - Optional |
| dc/awbios.zip | Atomiswave BIOS from MAME - Optional |
| dc/naomi2.zip | NAOMI 2 BIOS from MAME - Optional |
| dc/segasp.zip | System SP BIOS from MAME - Optional |
Reference table · Scroll horizontally to see all columns.
| Feature | Supported |
|---|---|
| Restart | Yes |
| Screenshots | Yes |
| Saves | Yes |
| States | Yes |
| Rewind | No |
| Netplay | No |
| Core Options | Yes |
| Memory Monitoring (achievements) | Yes |
| RetroArch Cheats | Yes |
| Native Cheats | No |
| Controls | Yes |
| Remapping | Yes |
| Multi-Mouse | No |
| Rumble | Yes |
| Sensors | No |
| Camera | No |
| Location | No |
| Subsystem | No |
| Softpatching | No |
| Disk Control | Yes |
| Username | No |
| Crop Overscan (in RetroArch's Video settings) | No |
foo.m3u

foo (Disc 1).chd
foo (Disc 2).chd
foo (Disc 3).chd
Reference table · Scroll horizontally to see all columns.
| Flycast input | RetroPad |
|---|---|
| A | B |
| X | Y |
| Start | Start |
| D-Pad Up | D-Pad Up |
| D-Pad Down | D-Pad Down |
| D-Pad Left | D-Pad Left |
| D-Pad Right | D-Pad Right |
| B | A |
| Y | X |
| L Trigger | L2 |
| R Trigger | R2 |
| Analog X | Left Stick X |
| Analog Y | Left Stick Y |
Sources & references
Content responsibility: FrameTinker editorial desk. Source authors and software maintainers are credited separately below; this is not a claim of hands-on testing.
Published .
RetroArch: flycast — official gaming software documentation https://raw.githubusercontent.com/libretro/docs/master/docs/library/flycast.mdRetrieved Oct 13, 2026Something doesn’t match your setup?
Suggest a correction