

RetroArch and its libretro cores are designed to run across many combinations of hardware, operating system, core and content. Because a volunteer-run project cannot test every possible combination, log files record essential information about your system and its behavior that other users and maintainers need in order to help troubleshoot problems and improve compatibility. This guide summarizes the official documentation on generating those logs.
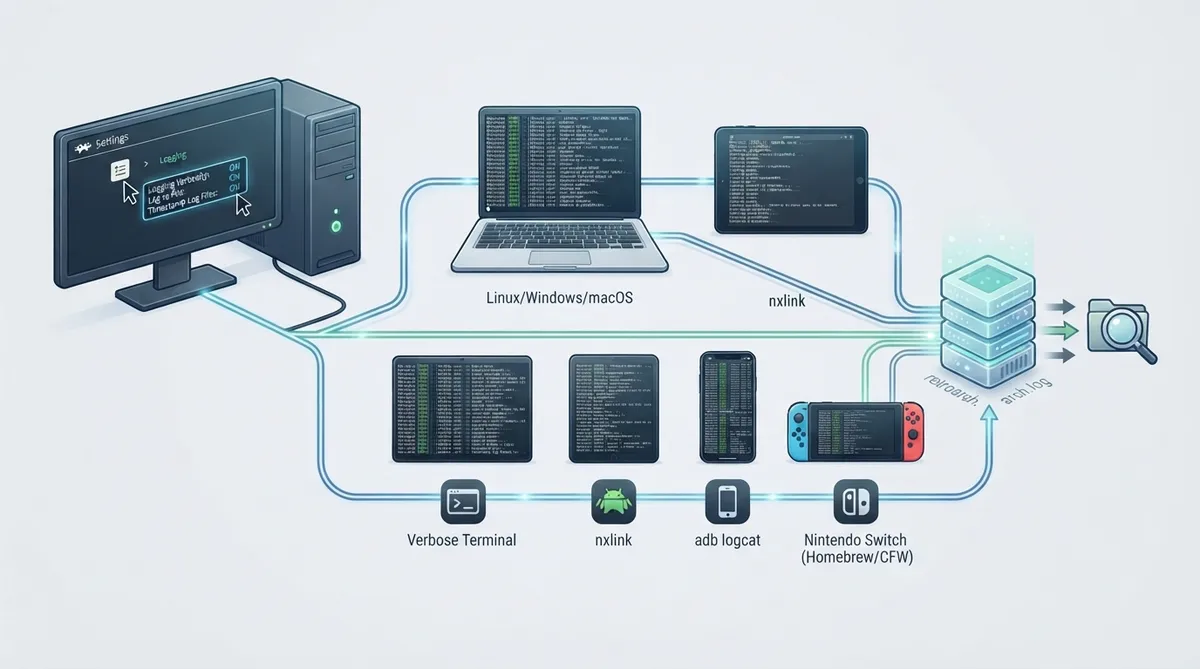
Generating logs from the RetroArch menu
Generating logs on Linux
Open a terminal, navigate to the RetroArch folder with cd, then start RetroArch in verbose mode with one of the commands below. After you exit RetroArch, a file named retroarch.log should be stored in that folder.
retroarch -v --log-file retroarch.log
retroarch -v >> retroarch.log 2>&1
The documentation also lists Linux commands for collecting supporting hardware information: lspci -nnk | grep -A 3 VGA reports graphics card information, aplay -L enumerates detected audio devices, and lsusb lists devices attached via USB.
The dmesg command displays messages from the kernel ring buffer, which typically holds messages generated by the Linux kernel during the boot process. That log lists each hardware device the kernel detected along with information on how the device was configured by the system.
Generating logs on Windows
Open a console window with the cmd command (from the Start Menu or the Windows "Run" menu), navigate to the RetroArch folder using cd, then start RetroArch in verbose mode with one of the commands below. After you exit RetroArch, a file named retroarch.log should be stored in that folder. The documentation also notes a shortcut: hold Shift and right-click the folder that contains retroarch.exe, select "Open PowerShell window here", switch to the Windows console with the cmd command, and continue from the start command.
retroarch.exe -v --log-file retroarch.log
retroarch.exe -v >> retroarch.log 2>&1
Generating logs on macOS
Open the Terminal app, navigate to the RetroArch.app folder with cd, then navigate into Contents/MacOS. Start RetroArch in verbose mode with one of the commands below. After you exit RetroArch, a file named retroarch.log should be stored in your home directory.
./RetroArch -v --log-file ~/retroarch.log
./RetroArch -v >> ~/retroarch.log 2>&1
Generating logs on Android
Logging systems on Android vary widely depending on the hardware and operating system in use. The documentation describes two general approaches: tethering the device to a PC over USB, or using a logcat app. In both cases you can still generate RetroArch logs from the menu described above.
For USB tethering you need a Linux, Windows or Mac PC and a USB cable for your device. The documented workflow: install the device driver for using adb on your PC, download the adb executable for your OS (available with the full Android SDK, though the executable can sometimes be found individually), connect the device by USB, enable developer options and USB debugging on the Android device, open a command prompt or terminal and cd to the directory holding the adb executable, run adb devices to verify the device is connected, then run adb logcat to show the logcat. Reproduce the issue on the device, then paste the console window contents into a GitHub Gist to share on forums or GitHub.
Collecting log files on Android without a PC requires a third-party app that can interface with the logcat system; the documentation notes many free apps are available through the Android Play Store.
Generating logs on iOS and tvOS
You can generate RetroArch logs from the menu described above. By default these logs go into the RetroArch/logs directory, accessible through the Files app on iOS or the webserver on tvOS. App Store installations can optionally send crash logs to the RetroArch developers for analysis; this is configured in the Settings app under "Privacy & Security" > "Analytics & Improvements" by turning on "Share With App Developers".
Generating logs on Nintendo Switch
The console and your PC must be on the same local network, and nxlink must be installed on your PC. The devkitpro environment includes it; the switchbrew wiki documents how to set up that development environment.
Run the homebrew menu on the console and press the Y button to open the netloader prompt. On your PC, open a terminal and run the nxlink command shown below, replacing the path with the location of the core NRO you want to launch. Note the documentation's warning that this will overwrite any homebrew with the same name on your SD card. That sends the homebrew to the console, runs it, and displays logs in the terminal you ran the command from. To redirect the logs into a file named libnx.logs instead, use the second command.
nxlink /path/to/your/core.nro -s
nxlink /path/to/your/core.nro -s > libnx.logs 2>&1
Platforms without logging documentation
The documentation states that at the time of writing there are no logging docs available for other Nintendo consoles, for PlayStation consoles, or for OpenDingux (GCW-Zero and RG350). For these platforms it suggests posting about your situation on the libretro forums. For Lakka specifically, it points to the separate Troubleshooting Lakka document.
Posting logs in the forum and on GitHub
Log files are generally lengthy, which makes them hard to read when pasted directly into a forum or GitHub post; if your log is more than six or seven lines long you will be asked to post a link instead. GitHub Gist is one free, straightforward way to share a log: paste the log contents or the log file itself into the Gist site, then press "Create Public Gist" to produce a shareable link.
Reference table · Scroll horizontally to see all columns.
| Platform | Documented method |
|---|---|
| Any (menu) | Settings > Logging: Logging Verbosity, Log to File, optional Frontend / Core Logging Level and Timestamp Log Files |
| Linux | Terminal + retroarch -v with --log-file or output redirection |
| Windows | cmd console + retroarch.exe -v with --log-file or output redirection |
| macOS | Terminal + ./RetroArch -v from Contents/MacOS with --log-file or output redirection |
| Android | adb over USB (adb logcat) or a third-party logcat app; menu logging also works |
| iOS / tvOS | Menu logging; logs default to RetroArch/logs, reached via Files app or tvOS webserver |
| Nintendo Switch | nxlink from a PC on the same local network, with optional redirection to libnx.logs |
| Lakka | Separate Troubleshooting Lakka documentation |
 View full image
 Sources & references
Published .
RetroArch: generating retroarch logs — official gaming software documentation https://raw.githubusercontent.com/libretro/docs/master/docs/guides/generating-retroarch-logs.mdRetrieved Oct 8, 2026Something doesn’t match your setup?
Suggest a correction