

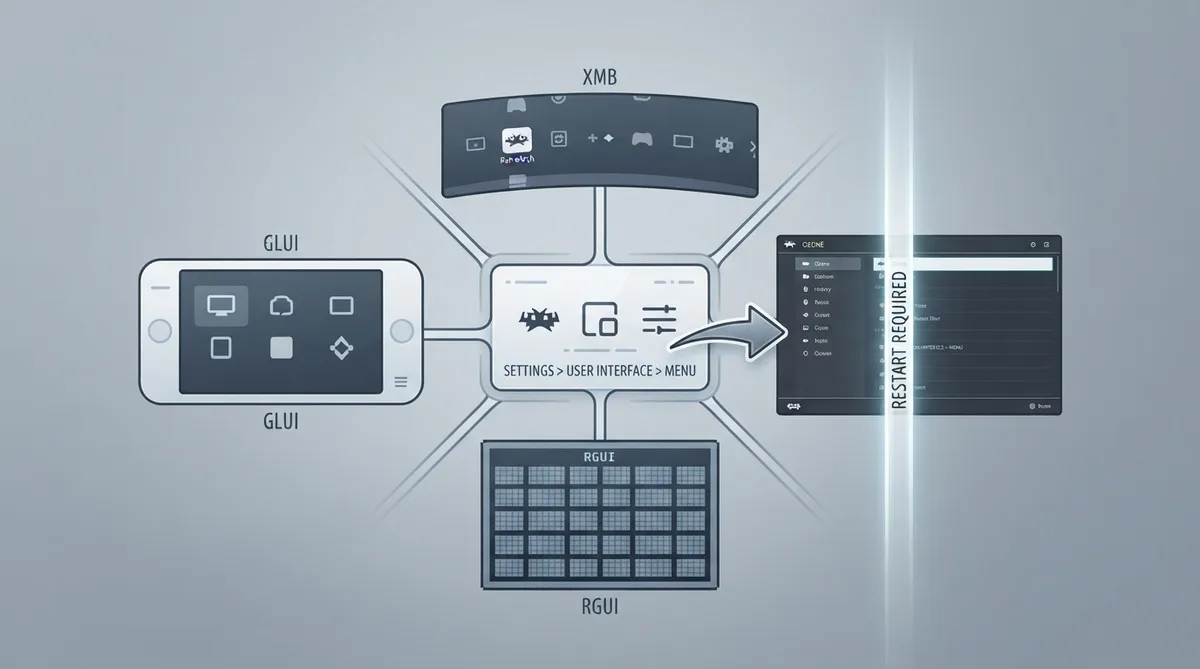
This guide summarizes the official RetroArch documentation on its user interface. RetroArch currently has four different "Menu Drivers" to choose from for its graphical user interface, and the documentation states that the menu driver can be changed under Settings > User Interface > Menu. It also states that a restart of RetroArch will be required after the change. The instructions below are drawn from that documentation and have not been hands-on tested here.
Available menu drivers
Changing the menu driver
- Open RetroArch.
- Navigate to Settings > User Interface > Menu.
- Select the menu driver you want to use.
- Restart RetroArch so the change takes effect.
The setting path in the official documentation is Settings > User Interface > Menu. After selecting a menu driver there, restart RetroArch for the change to take effect.
Scope and source limitations
The source page lists the four menu drivers and the setting path for switching between them, but it does not describe the visual layout of each driver in detail, per-driver feature differences, compatibility with specific RetroArch versions, or troubleshooting steps. Those details are outside the scope of this source summary and are not covered here.
Reference table · Scroll horizontally to see all columns.
| Menu driver | Description (per documentation) |
|---|---|
| Ozone | The default skin for many host systems |
| XMB | The "old" default skin |
| GLUI | The smartphone/touchscreen skin |
| RGUI | The "basic" skin |
Reference table · Scroll horizontally to see all columns.
| Item | Value (per documentation) |
|---|---|
| Setting path | Settings > User Interface > Menu |
| Restart required | Yes |
Sources & references
Content responsibility: FrameTinker editorial desk. Source authors and software maintainers are credited separately below; this is not a claim of hands-on testing.
Published .
RetroArch: gui — official gaming software documentation https://raw.githubusercontent.com/libretro/docs/master/docs/guides/gui.mdRetrieved Oct 8, 2026Something doesn’t match your setup?
Suggest a correction