

RGUI is a simple built-in user interface for RetroArch. It was originally introduced in the Wii port of RetroArch and was later refitted for use on low-powered and/or low-resolution devices. This guide summarizes the official documentation's covered features, settings, and menu paths.
What RGUI Can Do
- Selecting a libretro core
- Loading a game
- Tweaking per-libretro core options (for example, colorization in Game Boy)
- Loading a game from history (previously played games)
- Saving and loading savestates
- Configuring shaders
- Configuring aspect ratios
- Configuring integer scale
- Toggling fullscreen
- Swapping disk images (needed for PlayStation)
- Taking screenshots
- Enabling or disabling real-time rewind
- Simple input configuration
- Muting or unmuting audio
- Exiting RetroArch
While RGUI cannot configure absolutely everything, it can handle the most common things you would want to do while using RetroArch.
Navigating the Menus
Searching Through Lists with a Keyboard
- When using a keyboard, type / (forward slash) at any time to bring up a search box.
- Type a search string and press Return.
- The cursor jumps to the first entry that matches.
- Search matches mid-path strings, but a match at the beginning of the path takes priority.
The forward slash is recognized on a character basis, not on the key itself, which allows layouts such as Norwegian to type a forward slash with Shift+7. Characters outside the ASCII set are recognized but ignored, since RGUI cannot render them.
Config File Locations
- Linux/OSX: $XDG_CONFIG_HOME/retroarch/retroarch.cfg, then ~/.config/retroarch/retroarch.cfg, then ~/.retroarch.cfg, and finally /etc/retroarch.cfg as a fallback.
- Windows: retroarch.cfg in the same folder as retroarch.exe, then %APPDATA%\retroarch.cfg.
To override the default location, launch RetroArch with retroarch --config customconfig.cfg. To keep special options in a separate file, use retroarch --config baseconfig.cfg --appendconfig specialconfig.cfg.
By design, the config file is considered immutable because it is likely maintained by the user and should not be overwritten behind the user's back. This is not the case on consoles, where manually inspecting the config is not a realistic option for most users.
Configuring Input
On PC you can currently configure two settings per player: Device, which picks which gamepad to use for player N (the name of the pad is shown), and Device Type, which picks which device type to use. Device Type is relevant to the libretro core itself and is mostly useful for PlayStation, which needs to know whether you are using a DualAnalog device.
- Controller input can be configured from within RGUI.
- Normal gameplay binds as well as RGUI hotkey binding are supported.
- It is possible to bind everything in succession for convenience.
Thumbnails
RGUI thumbnail support requires playlist files and thumbnail image packs. To view existing playlists, choose Playlists from the main menu or the Load Content menu.
Select a playlist, then while browsing its contents use the RetroPad Y button (or Spacebar on PC) to toggle the full-screen thumbnail associated with the currently highlighted entry.
Any thumbnail image larger than 320x240 is downscaled automatically to fit the screen. Three downscaling methods are provided so you can choose between performance and quality: Nearest Neighbour (Fast), Bilinear, and Sinc/Lanczos3 (Slow).
To switch between downscaling methods, from the top menu select Settings > User Interface > Appearance and set the Thumbnail Downscaling Method option.
Thumbnails can also be displayed to the right of a system's playlist. Enable this at Settings > User Interface > Appearance > Show Playlist Thumbnails. The options immediately below it, Top Thumbnail and Bottom Thumbnail, can be set to Boxart, Title Screen, or Screenshot.
Themes
The visual appearance of RGUI can be altered by choosing one of 32 built-in color themes. These change both the color scheme and sometimes the background wallpaper.
From the top menu select Settings > User Interface > Appearance and cycle through the various Menu Color Theme options.
Setting Menu Color Theme to Custom allows for a greater degree of personalization via custom menu theme presets. Examples are provided in the RetroArch assets package, which may be downloaded via Online Updater > Update Assets. To choose one of the examples, go to Settings > User Interface > Appearance, select Custom Menu Theme Preset, and in the file browser navigate to the rgui directory and select a .cfg file.
Icons are not supported by RGUI; it uses ASCII characters where possible instead.
Creating Custom Menu Theme Presets
A custom menu theme preset is a plain text configuration file (for example, my_theme.cfg). The supported keys are rgui_entry_normal_color, rgui_entry_hover_color, rgui_title_color, rgui_bg_dark_color, rgui_bg_light_color, rgui_border_dark_color, rgui_border_light_color, and rgui_wallpaper, with color values given in 0xAARRGGBB format.
- rgui_entry_normal_color: the color of all 'normal' text displayed in any list.
- rgui_entry_hover_color: the color of the currently selected entry, along with the core name and clock displayed at the bottom of the screen.
- rgui_bg_dark/light_color: the menu background color; using different values creates a chequerboard effect, also used for message box backgrounds and title text when displaying thumbnails.
- rgui_border_dark/light_color: the color of the border frame drawn around the perimeter of the menu; using different values creates a chequerboard effect, also used for the frame of message boxes.
- rgui_wallpaper: relative file path to an optional wallpaper image; if omitted or left empty, no wallpaper is used.
Creating Wallpaper Images
RGUI wallpapers must have a resolution of exactly 320x240 and a color depth of 4 bits per pixel. The 4bpp depth is not strictly required, but using an image with greater color depth will not produce expected results. Wallpapers should be generated in PNG format.
- Create a regular 320x240 PNG file by any means.
- Reduce its color depth, either with pngquant (recommended) or GIMP.
- Apply a final optimization pass with OptiPNG.
- Point rgui_wallpaper in the theme config at the resulting image.
pngquant is a command-line utility for lossy compression of PNG files that supports high-quality conversion of images to indexed color, appropriate for most kinds of wallpaper. The documented command is: pngquant --posterize=4 --force -o "WALLPAPER_NAME_indexed.png" "WALLPAPER_SOURCE.png". After running it, open the output file and check that colors and gradients appear correct; if odd speckles appear, adjust the colors in the source image. If the image has unacceptable, uncorrectable dithering, discard the indexed file and use the alternate GIMP method instead.
- Open the wallpaper source file in GIMP.
- From the menu, select Image > Mode > Indexed...
- In the Indexed Color Conversion pop-up, select 'Generate optimum palette'.
- Set 'Maximum number of colors' to 16.
- Set 'Color dithering' to either 'Floyd-Steinberg (normal)' or 'Floyd-Steinberg (reduced color bleeding)'.
- Press Convert.
- Inspect the result; some manual touch-up may be required.
- Select File > Export As... and name the file WALLPAPER_NAME_indexed.png.
- In the Export Image as PNG pop-up, untick 'Save color values from transparent pixels' and click Export.
Whether pngquant or GIMP was used, a final optimization stage with OptiPNG is recommended to generate a clean output wallpaper: optipng -o7 -strip=all -force -clobber -out "WALLPAPER_NAME.png" "WALLPAPER_NAME_indexed.png". Then edit the custom theme preset so rgui_wallpaper points to the resulting WALLPAPER_NAME.png image.
For shader configuration, the official documentation refers readers to the separate shaders user guide.
Reference table · Scroll horizontally to see all columns.
| Item | Documented detail |
|---|---|
| Introduced in | Wii port of RetroArch |
| Design target | Low-powered and/or low-resolution devices |
| Icon support | Not supported; uses ASCII characters where possible |
| Built-in color themes | 32 |
| Keyboard input config inside RGUI | Not supported |
| Thumbnail auto-downscale threshold | Images larger than 320x240 |
| Wallpaper resolution | 320x240 |
| Wallpaper color depth | 4 bits per pixel |
| Wallpaper format | PNG |
| Config write-back on PC | Off by default; enable config_save_on_exit = true |
Reference table · Scroll horizontally to see all columns.
| Platform | Search order |
|---|---|
| Linux/OSX | $XDG_CONFIG_HOME/retroarch/retroarch.cfg, ~/.config/retroarch/retroarch.cfg, ~/.retroarch.cfg, /etc/retroarch.cfg (fallback) |
| Windows | retroarch.cfg next to retroarch.exe, then %APPDATA%\retroarch.cfg |
Reference table · Scroll horizontally to see all columns.
| Downscaling method | Documented trade-off |
|---|---|
| Nearest Neighbour (Fast) | Simple (pixelated) scaling; very low impact on performance, usable on any hardware |
| Bilinear | Smooth (potentially blurry) resampling; slower than nearest neighbour, usable on most hardware |
| Sinc/Lanczos3 (Slow) | High quality resampling, sometimes generates artefacts with dithering; may cause lag on very low end devices, no discernable impact on desktop-class hardware |
rgui_entry_normal_color = "0xAARRGGBB"
rgui_entry_hover_color = "0xAARRGGBB"
rgui_title_color = "0xAARRGGBB"
rgui_bg_dark_color = "0xAARRGGBB"
rgui_bg_light_color = "0xAARRGGBB"
rgui_border_dark_color = "0xAARRGGBB"
rgui_border_light_color = "0xAARRGGBB"
rgui_wallpaper = "wallpaper_file.png"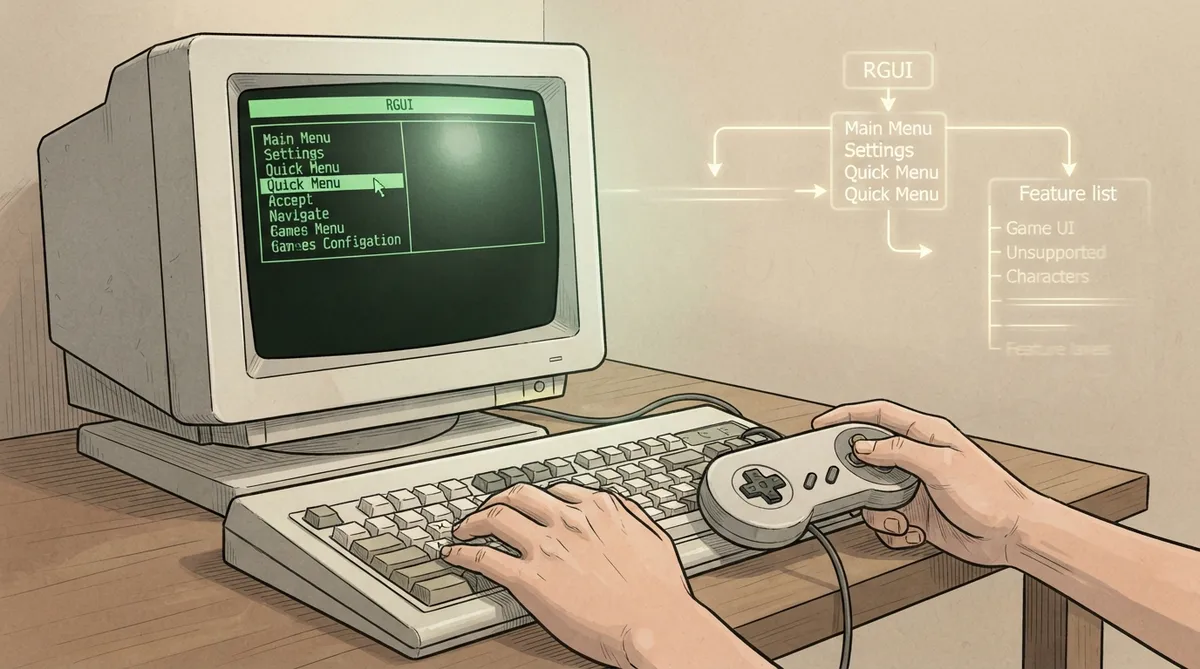 View full image
 Sources & references
Published .
RetroArch: rgui — official gaming software documentation https://raw.githubusercontent.com/libretro/docs/master/docs/guides/rgui.mdRetrieved Oct 8, 2026Something doesn’t match your setup?
Suggest a correction