

This guide summarizes the officially documented procedure for running RetroArch on a Sega Genesis Mini using the Project Lunar bundle. All steps below are drawn from that documentation; the workflow has not been independently hands-on tested. The source itself notes that installation steps and download file parts may change over time, so treat details as a snapshot.
Prerequisites
You currently need a way to execute homebrew to run RetroArch on the Sega Genesis Mini.
- - A FAT32 or exFAT formatted USB drive
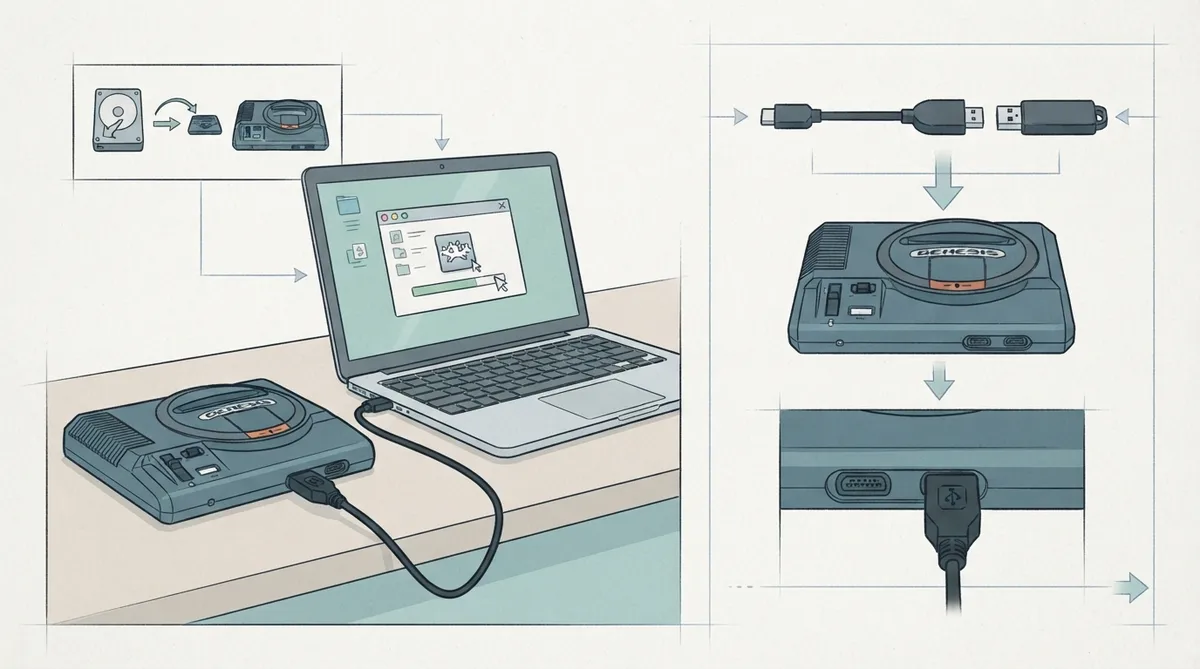
- - A USB cable that supports data transfer (the cable that shipped with the Genesis does not support data transfer and only works for power)
- - Optional: an OTG cable, so you do not have to use the second port for the USB drive
Downloading the bundle
A bundle containing RetroArch, the supported cores and all assets is available from the Project Lunar releases page. The documentation states that several download options are listed and that the Zip Version is likely the right choice in most cases.
Installing Project Lunar and RetroArch
- 1. Extract the downloaded zip archive.
- 2. Locate the executable named ProjectLunarUI.exe.
- 3. Run it and choose Install/Uninstall.
- 4. The system will warn that it has not detected a device. When prompted, accept interactive setup support.
- 5. Follow the on-screen steps to complete setup.
- 6. Plug your USB drive into the second port of the device.
- 7. Click Tools > Get RetroArch and download the _ALLCORES.ZIP file from the page it opens. The documentation notes this saves you from downloading cores one by one.
Transferring cores and ROMs
To move files to the drive, first turn the device off and remove the USB drive once it is completely powered down. Plug the drive into a computer and copy the contents of the downloaded archive into the project_lunar > retroarch > cores folder. Copy your own content into the project_lunar > roms folder as well.
Finishing up
Remove the USB drive from the computer and insert it into the second USB port while the device is turned off. Alternatively, plug it into the back of the device using an OTG cable, which leaves the second USB port free for the controller. When the system is turned on, you can click the RetroArch icon and continue.
Limitations to keep in mind
The Project Lunar version of RetroArch is built by the ModMyClassic team and may be a different version than RetroArch's current release. The documentation notes that as Project Lunar is updated, the RetroArch it contains may come close to the current version.
The documentation explicitly warns that installation steps and download file parts may differ over time, so the menu labels and file names above may not match future releases of Project Lunar.
 View full image
 Sources & references
Published .
RetroArch: install genesismini — official gaming software documentation https://raw.githubusercontent.com/libretro/docs/master/docs/guides/install-genesismini.mdRetrieved Oct 8, 2026Something doesn’t match your setup?
Suggest a correction