

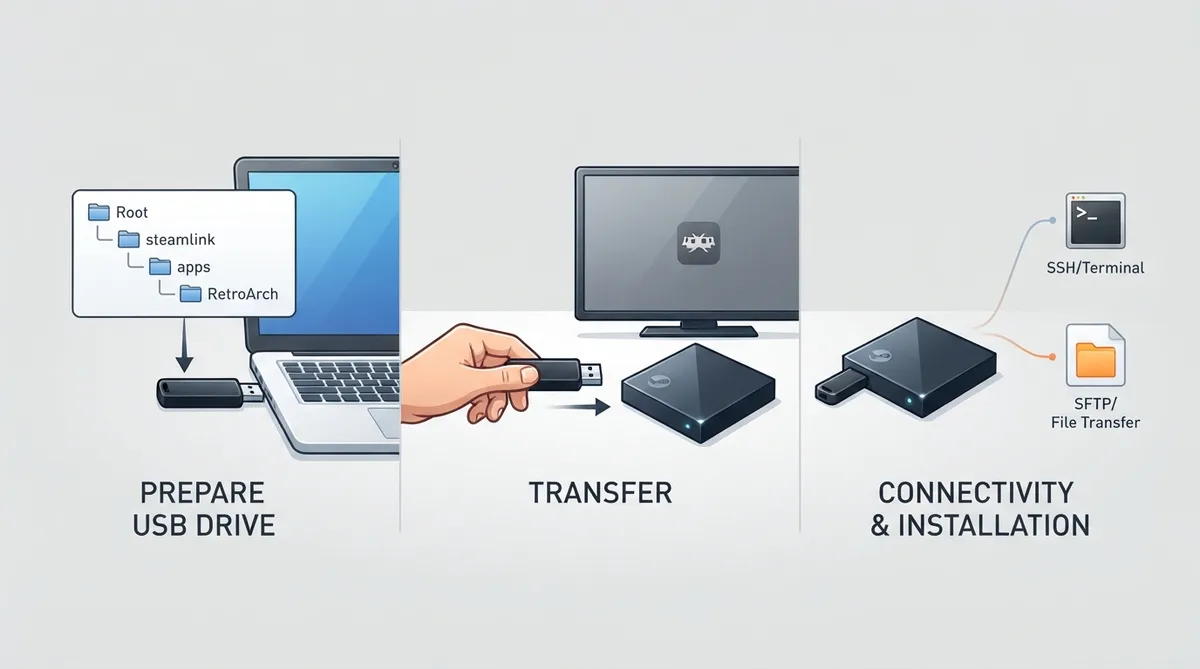
This guide summarizes the official libretro documentation for downloading and installing RetroArch on Steam Link. The documented process uses a FAT32-formatted USB drive and a specific folder layout, then optionally enables SSH or USBmount so that game content can be transferred afterward.
Prerequisites
- A USB drive formatted as FAT32.
The Steam Link build is not produced by the automated build system because of changes in both the Steam Link SDK and libretro. The documentation points to a separate download location for a working version.
Download the RetroArch Package
Download the Steam Link build from the project's release page linked in the source documentation. The documentation indicates that thread, ALSA, PulseAudio, NEON and shader pipeline features are disabled in this build, the RGUI theme is pre-configured, and most cores are installed into the root folder.
Prepare the USB Drive
Create the folder structure in the root directory of the USB drive so that an apps folder sits inside a steamlink folder.
steamlink/apps/Unzip RetroArch.zip and move the resulting RetroArch folder into the apps folder you just created.
Enable SSH (Optional)
To use an SFTP connection over SSH, SSH must first be enabled. Inside the steamlink folder, create a Config directory, then a System directory inside it, and inside System create an empty text file named enable_ssh.txt.
steamlink/config/system/enable_ssh.txtUSBmount is documented as an alternative way to connect a disk mounted at /mnt/disk. The documentation links to a Steam Community discussion for more detail and notes that the link is not affiliated with RetroArch and may change or not be original.
Install RetroArch on Steam Link
- Format the USB drive as FAT32 for a fresh install, move the steamlink folder into the USB root, unplug the USB drive, and make sure the Steam Link is fully turned off by unplugging its power cord. Plug the USB drive into the first USB port, then plug in the power cable. On boot, the Steam Link reads the RetroArch structure and installs RetroArch. Remove the USB drive once the RetroArch logo appears on the home screen, then launch the application by pressing that logo.
Transfer Content
Content can be placed in the Content folder inside the RetroArch folder, but the documentation describes SSH or USBmount as more sustainable options for ongoing transfers.
Using SSH / SFTP
Find the IP address the Steam Link has received from the router or from the Steam Link network settings, then create an SFTP connection with an FTP tool. The documented SSH username is root, the password is steamlink123, port 21 is used for FTP and port 22 for SFTP. The documentation notes that the IP address in its example may differ from yours, and that RetroArch is not responsible for the FTP applications used.
Host: 192.168.1.5
Username: root
Password: steamlink123
Port: 22
Go to the root folder and open the apps folder, where the RetroArch folder is visible. Open it and move your content into the contents folder.
To use USBmount for content transfer, install it the same way RetroArch is installed. Remove the RetroArch folder from the apps directory before installing USBmount, otherwise it will be re-installed on every boot. After installation, create a folder on the USB drive, move your content into it, plug the USB drive into the Steam Link, and run the installed USBmount application.
Reference table · Scroll horizontally to see all columns.
| Location | Path |
|---|---|
| RetroArch app folder on USB | steamlink/apps/ |
| RetroArch folder location | steamlink/apps/RetroArch/ |
| SSH enable marker file | steamlink/config/system/enable_ssh.txt |
| Content folder for SFTP transfer | apps/RetroArch/contents |
 View full image
 Sources & references
Published .
RetroArch: install steamlink — official gaming software documentation https://raw.githubusercontent.com/libretro/docs/master/docs/guides/install-steamlink.mdRetrieved Oct 8, 2026Something doesn’t match your setup?
Suggest a correction