

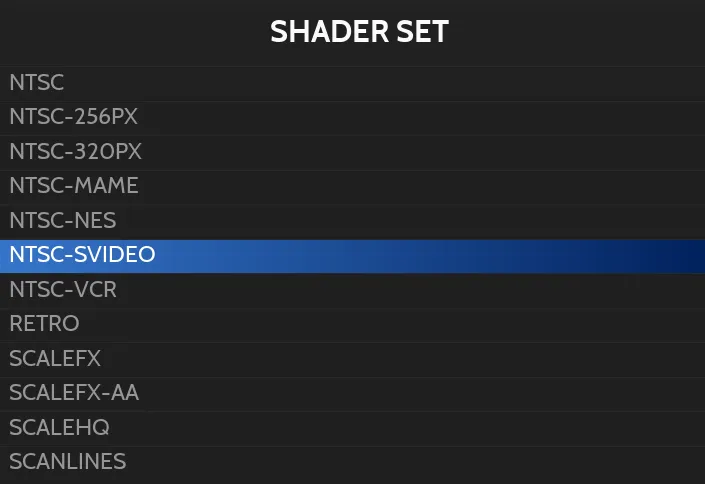
RetroBat lets you manually add shader sets to its menu for libretro cores. This guide follows the official documentation’s advcartoon example and configures a RetroBat-managed menu entry, not a standalone RetroArch default.
Before you begin
Check the shader format against the system’s video driver. The documentation lists GLSL for OpenGL and Slang for Vulkan, Direct3D 10/11/12, and OpenGL Core. RetroBat searches the appropriate shader folder based on the video driver configured for the system.
Add the advcartoon entry
1. Locate the example preset. The documentation identifies it as advcartoon.glslp in \retroarch\shaders\shaders_xxxx\cel within the RetroBat installation. The shaders_xxxx segment is the documentation’s placeholder notation.
2. Open \system\shaders\configs within your RetroBat installation. Create a folder named advcartoon.
3. Inside the advcartoon folder, create rendering-defaults.yml with the following YAML content:
default:
  shader: cel/advcartoon
The shader value uses the shader subfolder and preset filename without its extension. In this example, cel/advcartoon refers to the advcartoon preset in the cel folder.
Expected result
According to the official procedure, the new shader set should now appear in RetroBat’s menu. This is the documented menu-entry result, not a guarantee that every shader will work with every video driver.
Sources & references
Content responsibility: FrameTinker editorial desk. Source authors and software maintainers are credited separately below; this is not a claim of hands-on testing.
Published .
RetroBat: tutorials — adding retroarch shader sets to retrobat — official gaming software documentation https://raw.githubusercontent.com/RetroBat-Official/retrobat-wiki/master/lang/en/tutorials/adding-retroarch-shader-sets-to-retrobat.mdRetrieved Nov 5, 2026Something doesn’t match your setup?
Suggest a correction