

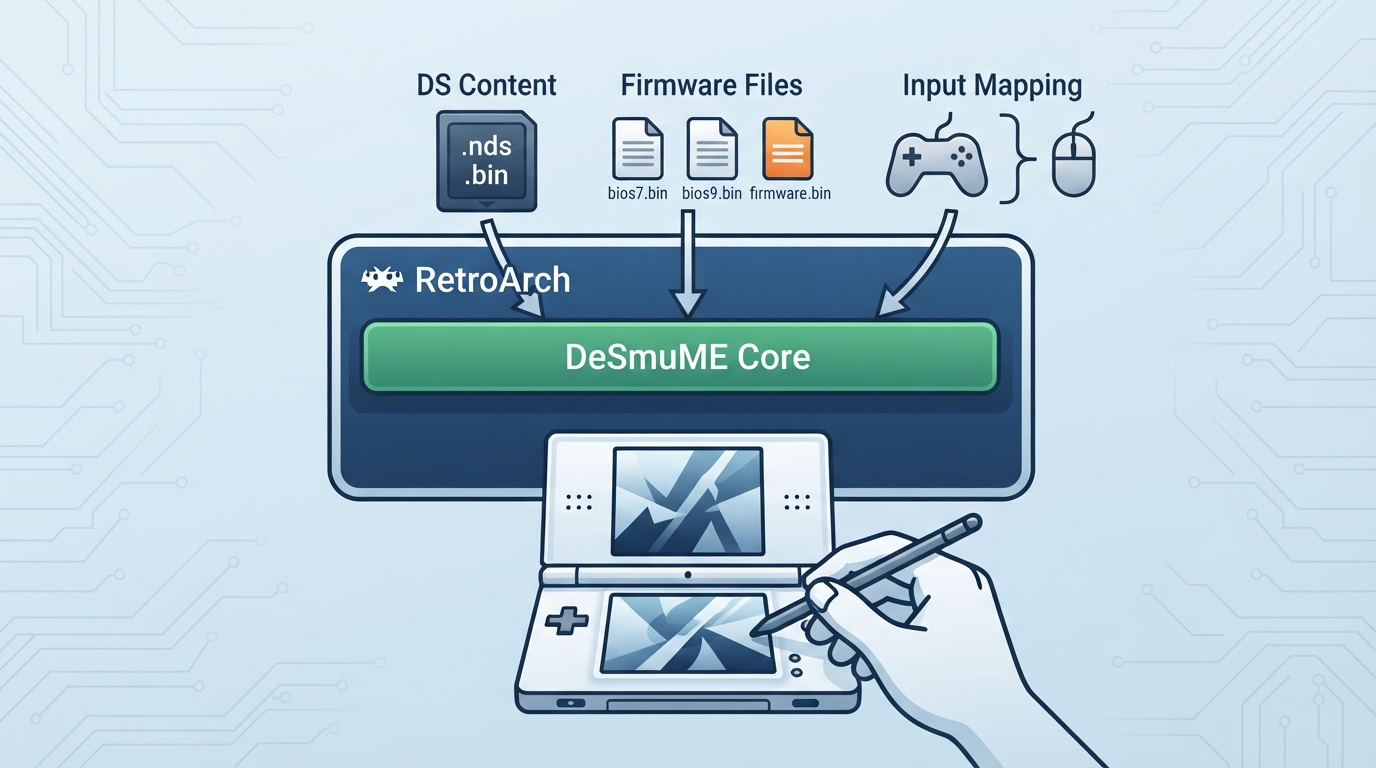
This guide summarizes the official libretro documentation for the DeSmuME core, a Nintendo DS emulator used inside RetroArch. It covers what content the core accepts, which firmware files are optional, how the most commonly adjusted core options behave, and how controllers and the stylus are mapped. Every item below is drawn from the published documentation; none of the steps have been independently verified by hands-on testing.
What you need before starting
- - A RetroArch installation with the DeSmuME core available. The core's library name is 'DeSmuME'.
- - Nintendo DS content in one of the supported formats: .nds or .bin.
- - Optional: Nintendo DS BIOS and firmware files, placed in RetroArch's system directory.
- - For stylus-style input, a mouse or a pointer-capable device, depending on the pointer options you choose.
Step 1: Load DS content in RetroArch
Once the DeSmuME core is installed and selected for Nintendo DS content, load a compatible .nds or .bin file through RetroArch's normal content loading process. The documentation associates the core with the Nintendo DS databases (standard, Decrypted, and Download Play), which is used for database-driven playlist features rather than for loading itself.
Step 2: Optionally add BIOS and firmware files
The DeSmuME core treats DS firmware files as optional. Place bios7.bin, bios9.bin, and firmware.bin in RetroArch's system directory if you want to use them. The firmware file's checksum varies from dump to dump, while bios7.bin and bios9.bin should match the values listed in the documentation.
Step 3: Adjust the core options you are most likely to change
Core options are found in RetroArch's core options menu. Defaults are noted in bold in the documentation. Options marked (restart) only apply after the core is closed and content is launched again. The table below highlights options that affect compatibility, performance, and input.
- - 'Use External BIOS/Firmware (restart)' — disabled by default; set to enabled to use bios7.bin, bios9.bin, and firmware.bin from the system directory.
- - 'CPU Mode' — jit by default; interpreter has better compatibility but much lower performance. The default depends on hardware, and JIT is not available on all platforms, such as Android devices.
- - 'JIT Block Size' — only available when CPU mode is set to jit; tune the block size if games break, where lower values are more accurate and higher values are faster.
- - 'Enable Advanced Bus-Level Timing' — enabled by default; improves or fixes some games but is performance demanding, so disable it for speed.
- - 'Internal Resolution (restart)' — 256x192 by default; higher values render at higher resolutions and require a restart.
- - 'OpenGL Rasterizer (restart)' — disabled by default; requires the frontend's video driver to be set to gl.
- - 'Screen Layout' — top/bottom by default; changes how the two DS screens are arranged, which also affects the core's reported base width, height, and aspect ratio.
- - 'Frameskip' — 0 by default; values 1 or 2 are described as generally safe for a speedup if slightly choppier motion is acceptable.
Step 4: Set up controllers and the stylus
User 1 uses the RetroPad device type by default. The core maps DS buttons and system functions to RetroPad inputs, including Lid Close/Open, Tap Stylus, Make Microphone Noise, and Quick Screen Switch. Stylus input is handled through the mouse or pointer API depending on the 'Pointer type' core option.
- - 'Mouse/Pointer' — enabled by default; enable stylus input.
- - 'Pointer Type' — mouse by default; set to touch to allow mouse or touch input, for example touch controls on Android.
- - 'Mouse Speed' — only takes effect when Pointer Type is set to mouse.
- - 'Pointer Rotation' — rotates pointer controls and can be combined with RetroArch's rotation setting.
- - Microphone input uses the 'Microphone Button Noise Type' option, with pattern by default or random for games that do not respond to the internal noise sample.
Step 5: Know where the core writes data
The core saves cartridge battery data as .dsv files and firmware settings as firmware.dfc in RetroArch's save directory. Save states are written as .state files in RetroArch's state directory. The Nintendo DS system nickname can be set through RetroArch's Username setting in the User Menu.
Known limitations from the documentation
- - Netplay is supported, but not for Download Play, Link-Cable, or Wi-Fi emulation.
- - Native cheats, Multi-Mouse, rumble, sensors, camera, location, subsystem, softpatching, disk control, language selection, crop overscan, and LEDs are marked as not supported.
- - Compatibility is described as the same as upstream standalone DeSmuME.
- - Core-provided timing is 60 FPS with a 44100 Hz sample rate.
This guide reflects the official DeSmuME core documentation as published by the libretro project. It is intended as a starting reference rather than a tested setup, and some option descriptions in the source documentation are marked as awaiting description.
Reference table · Scroll horizontally to see all columns.
| Filename | Description | md5sum |
|---|---|---|
| bios7.bin | ARM7 BIOS - Optional | df692a80a5b1bc90728bc3dfc76cd948 |
| bios9.bin | ARM9 BIOS - Optional | a392174eb3e572fed6447e956bde4b25 |
| firmware.bin | NDS Firmware - Optional | Varies by dump |
Reference table · Scroll horizontally to see all columns.
| Feature | Supported |
|---|---|
| Restart | Yes |
| Screenshots | Yes |
| Saves | Yes |
| States | Yes |
| Rewind | Yes |
| Netplay | Yes (not Download Play, Link-Cable, or Wi-Fi emulation) |
| Core options | Yes |
| Memory monitoring (achievements) | Yes |
| RetroArch cheats | Yes |
| Native cheats | No |
| Controls | Yes |
| Remapping | Yes |
| Multi-mouse | No |
| Rumble | No |
| Sensors | No |
| Camera | No |
| Location | No |
| Subsystem | No |
| Softpatching | No |
| Disk control | No |
| Username | Yes |
| Language | No |
| Crop overscan | No |
| LEDs | No |
Sources & references
Content responsibility: FrameTinker editorial desk. Source authors and software maintainers are credited separately below; this is not a claim of hands-on testing.
Published .
RetroArch: desmume — official gaming software documentation https://raw.githubusercontent.com/libretro/docs/master/docs/library/desmume.mdRetrieved Oct 12, 2026Something doesn’t match your setup?
Suggest a correction