

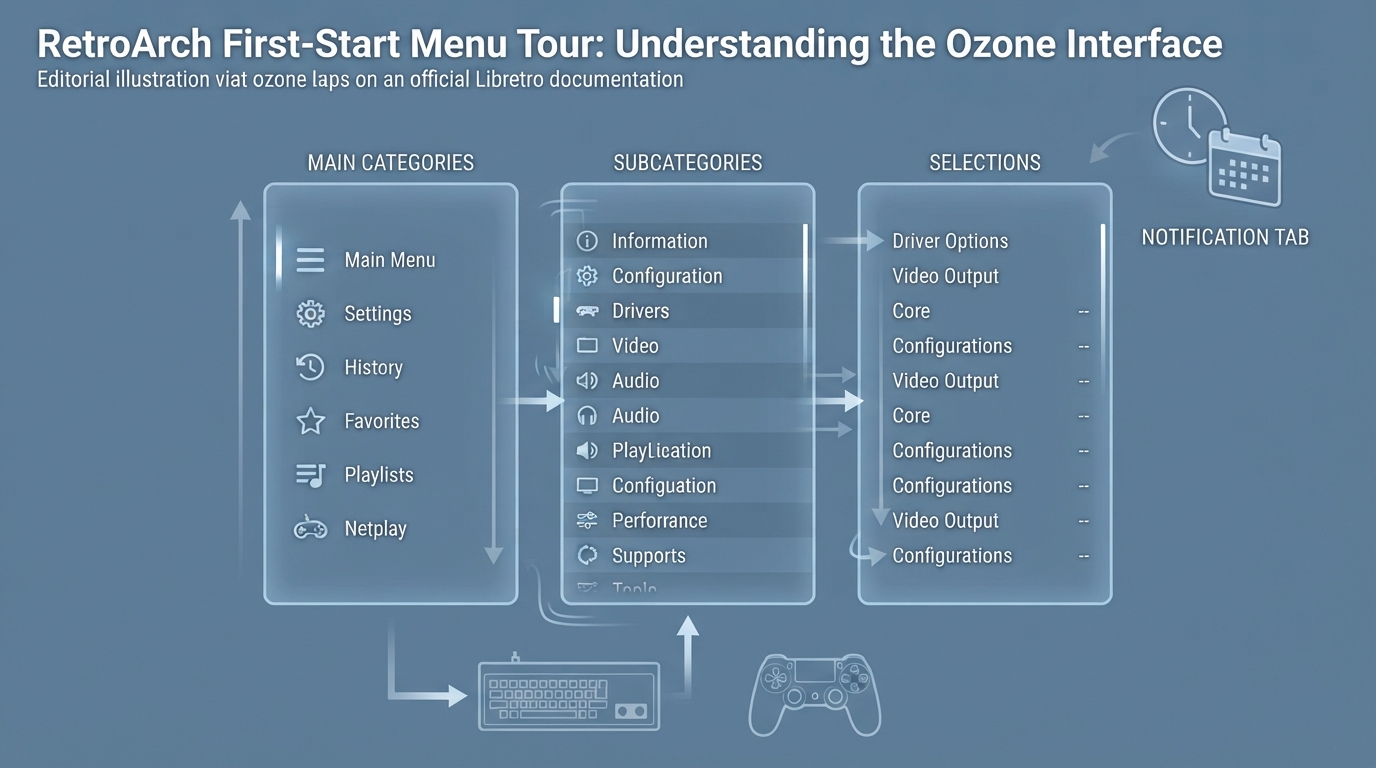
When you start RetroArch for the first time, the application opens directly into its menu environment. According to the official libretro documentation, this menu is called Ozone, and its stated goal is to provide a modern and fast menu experience. This guide summarizes what the documentation describes about the Ozone layout and how to move through it with a keyboard or a connected controller. All steps below are a summary of the official documentation, not a hands-on test.
The Ozone menu layout
The sidebar: switching main menus
The main screen: confirming a selection
The middle area is the main screen, and the documentation states that it will not change unless you confirm the selection. As an example, moving to Settings in the sidebar changes it; once you select any option inside Settings, the relevant menu appears.
The notification tab
The notification tab is connected to your system and shows the time and date. According to the documentation, you can hide it or change the clock type.
Where selection values appear
The part of the interface that shows your selection values also displays the version on the left.
Navigating with a keyboard or controller
RetroArch is intended to be easily controlled with a controller. In its documentation, RetroArch uses the overall term controller, which encompasses all input hardware that could be described as a joypad, gamepad, joystick, and others.
On a computer, the documentation states that basic keyboard keys apply: you move with the arrow keys, select with the Enter key, and return with the Backspace key. If you plug in a controller, you can also move with the D-Pad keys. The documentation's example shows menu navigation with the keyboard arrow keys and notes that the same arrow-key navigation applies on other platforms such as Vita.
- Documented keyboard-to-RetroPad button mapping:
- - Arrow keys: RetroPad D-Pad directions
- - Q: L1; W: R1
- - Shift: Select; Enter: Start
- - Z: B; X: A
- - A: Y; S: X
Why button mapping varies by platform
RetroArch works on many platforms, and each of these platforms has one or more input systems. These input systems differ widely in the way they enumerate the pad buttons. For this reason, the documentation notes that your joypad buttons may be mapped differently depending on whether you are using Windows, Mac, or Linux. The documentation also states that the control scheme is determined automatically depending on the device you have.
With the layout and default navigation understood, you can begin exploring the menu categories and selecting options to reach the settings you need. Exact appearance and behavior can vary between builds and platforms, so treat the descriptions here as a summary of the official documentation rather than a tested walkthrough.
Reference table · Scroll horizontally to see all columns.
Sources & references
Content responsibility: FrameTinker editorial desk. Source authors and software maintainers are credited separately below; this is not a claim of hands-on testing.
Published .
RetroArch: love at first sight — official gaming software documentation https://raw.githubusercontent.com/libretro/docs/master/docs/start/love-at-first-sight.mdRetrieved Oct 14, 2026Something doesn’t match your setup?
Suggest a correction